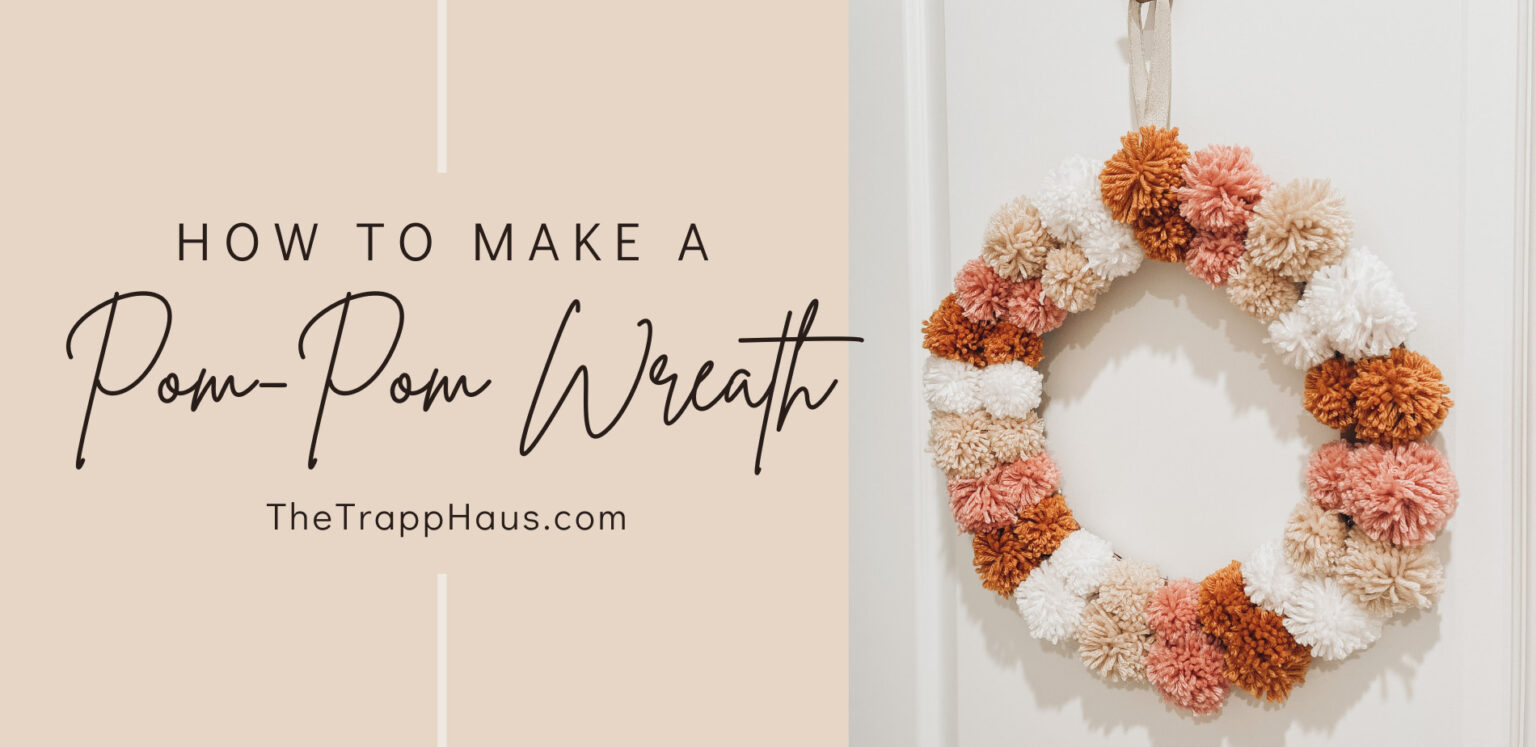
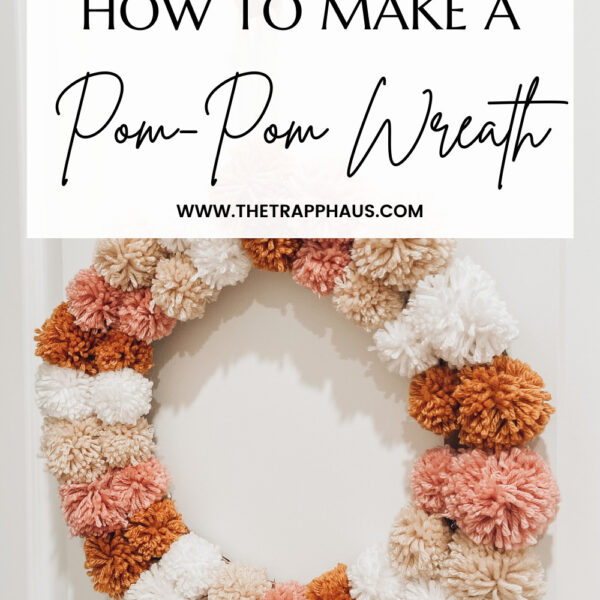
How to Make a Pom-Pom Wreath with Yarn
When I was searching for Christmas decor this year, I knew I wanted to add a wreath to Jade’s room door. I actually purchased this one from Target, but I ended up taking it back because I really didn’t like it.
Then I came across an Anthropologie pom-pom wreath, but I didn’t like the price. It was nearly $100 and the Target dupe was almost $30. So I wanted to try to DIY one. I mean it shouldn’t be hard to make a pom-pom wreath right? I’m so happy that I did because I absolutely love how it turned out, and it cost me way less than half the price.
Continue reading to see just how easy it is to make a pom-pom wreath in three easy steps.
Related: Kid’s Christmas Tree: Add Magic to Their Personal Space
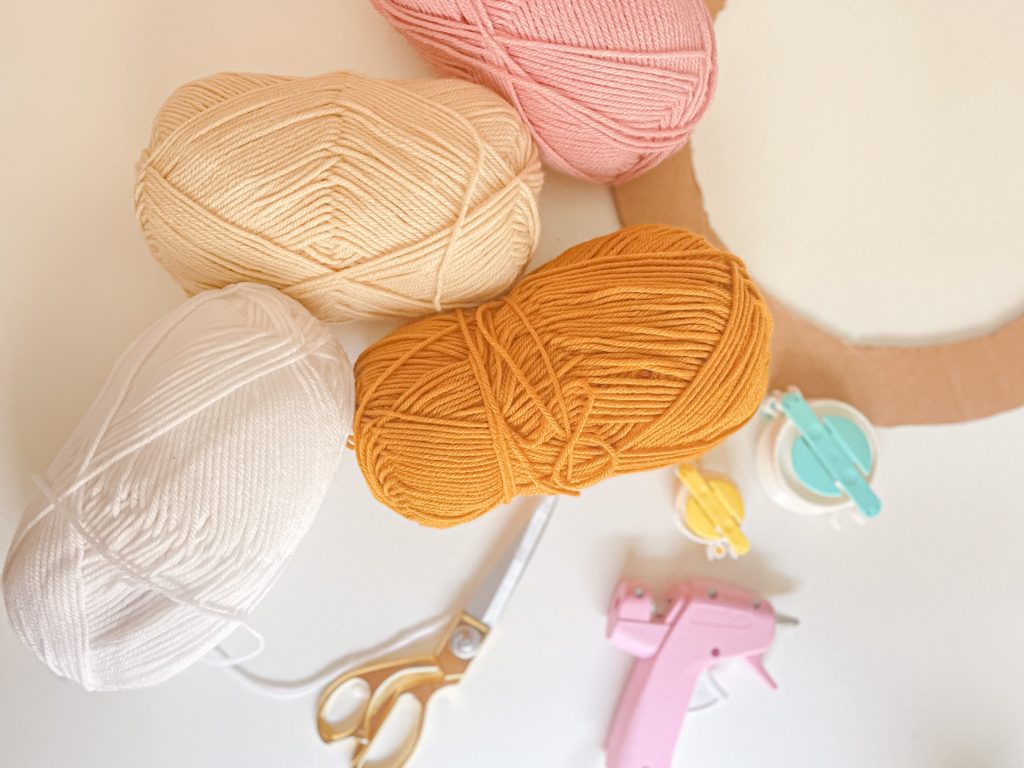
What You’ll Need to Make a Pom-Pom Wreath:
- Pom-pom Maker
- A variety of colored yarn skeins
- Sharp scissors
- Hot glue gun (+ glue sticks)
- Large piece of cardboard (or you can use a foam wreath form)
- Ribbon
Step 1: Create the base of the wreath
I upcycled cardboard from one of the many packages I received and traced and cut out an open circle, which I’ll use as the base of my wreath. You can skip this step if you’re using a foam wreath form.
Update: It’ll probably be easier to use a foam wreath form because cutting through cardboard was so hard with the scissors, but I wanted to keep the costs to a minimum and just use what I currently had on hand. If I had an X-Acto knife, it would have been a whole lot easier.
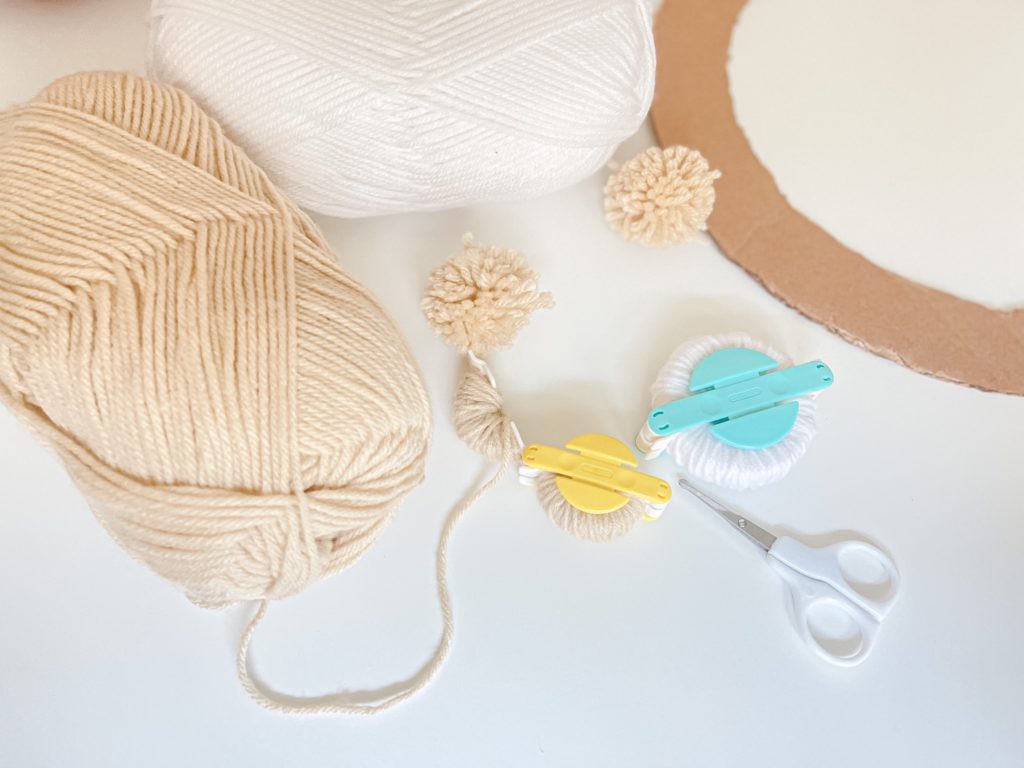
Step 2: Make the Pom-Poms
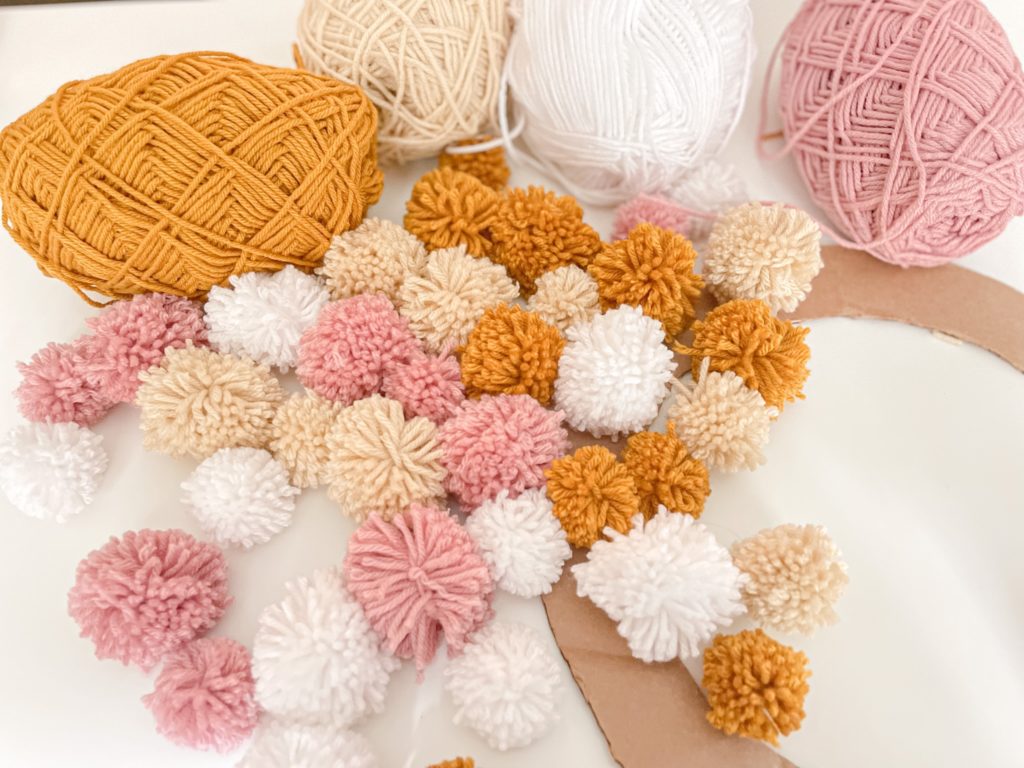
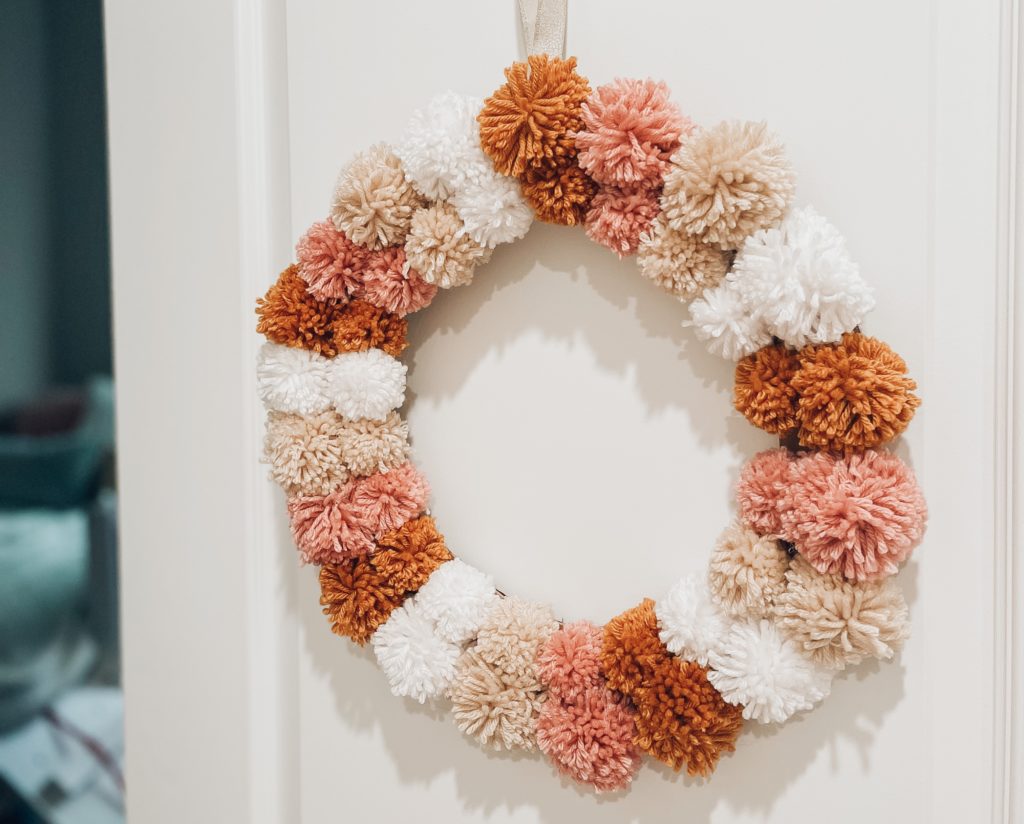
Now, it’s time for the fun part – making the pom-poms. I used a Clover Pom-Pom maker, and it made it so easy to form the pom-poms. I can’t lie though. I underestimated how long it would take me to make them. I just turned on a YouTube video and the time went by fairly quickly. I ended making 40 pom-poms total. 20 medium-sized pom-poms and 20 smaller ones. My wreath base is 16″. Depending on the size you choose, it may take more or fewer pom-poms.

Step 3: Attach the Pom-Poms to the Wreath Base
Using a hot glue gun, start attaching the pom-poms to the wreath base. Make sure you attach them close together so that the base doesn’t show through or cause any drooping. If you’re using multiple colors as I did, play around with different variations of how you want the final wreath to look first before you start gluing. Once I found a pattern that I liked, I snapped a picture of the design so that I would style it correctly. I absolutely loved how it turned out.
Step 4: Add any accessories (optional)
I know I said that this would be a 3-step tutorial on how to make a pom-pom wreath, but you could totally add any accessories to the wreath for a little extra razzle-dazzle. I may go back in and add a few miniature bottle brush trees at the base to create an extra cozy winter scene.
This was such a fun and easy DIY. I’m so happy to finally have a chance to get back into crafting. So be on the lookout for what I have to come. If you decide to make a pom-pom wreath, be sure to tag me on Instagram @TheTrappHaus. I would love to see it.


Best-selling products
Scripture Lunchbox Notes
$3.00
Fruit of the Spirit Coloring Pages
$7.00
Bible Affirmation Coloring Pages
$9.00
Christian Mom Affirmation Cards
$5.00